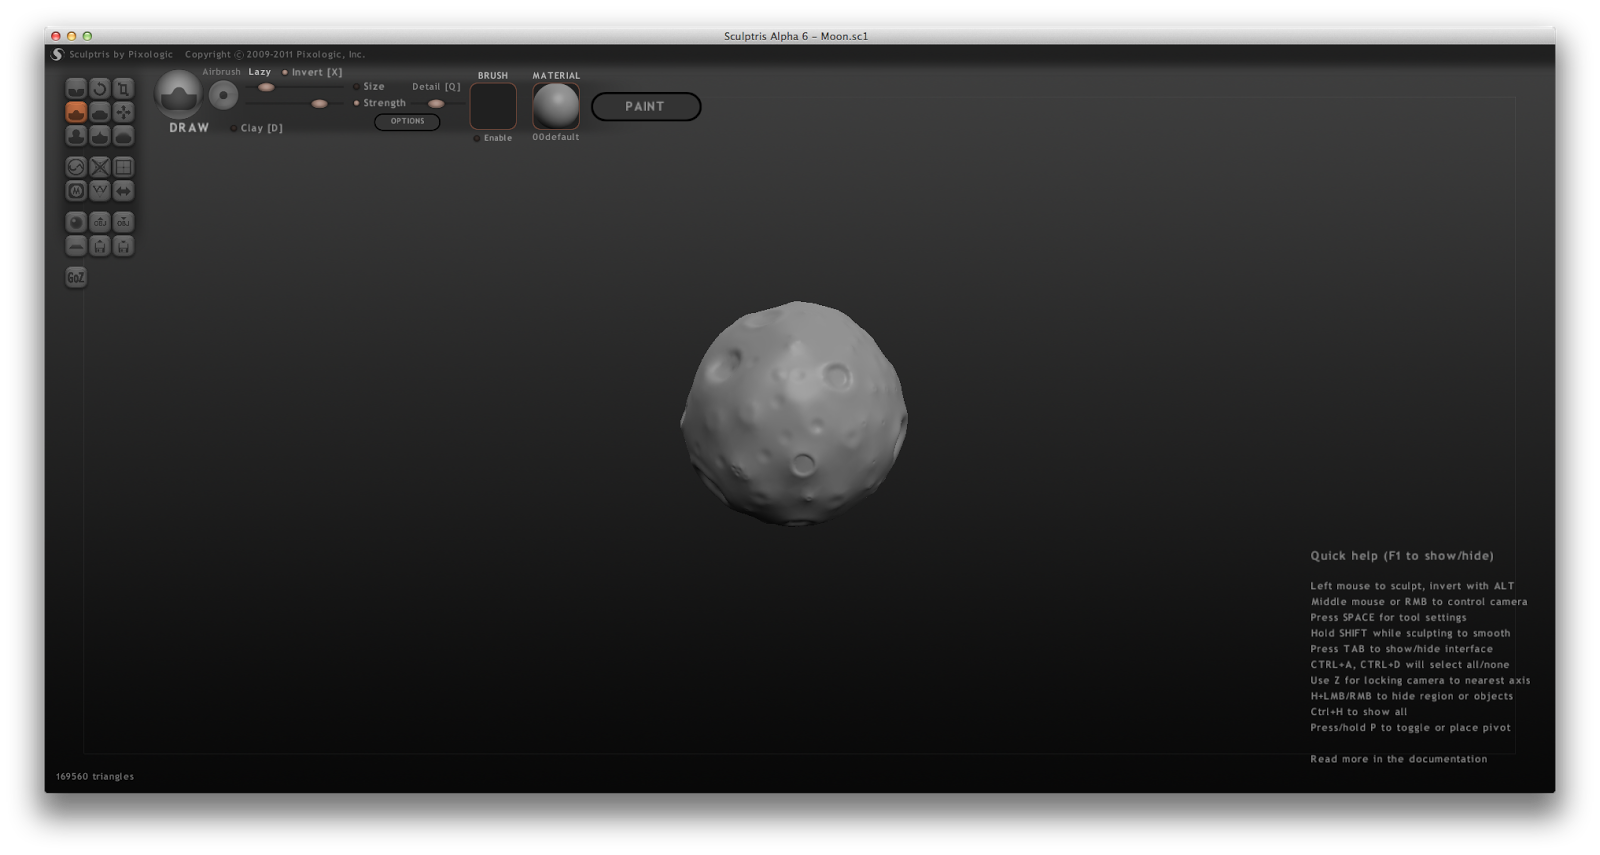
Once we finished our moons we exported them from Sculptris and imported them into Maya, the file that Sculptris exports in works perfectly with Maya so it was pretty simple to do. Then we created a sphere in Maya and resized it so it was the same as the Sculptris version, then we placed it inside the moon model to be able to create a Transfer Map for the model.
From there we held the spacebar on the sphere, and clicked on Lighting/Shading and then Transfer Maps. Within the Transfer Maps window there is a variety of options, the source mesh needed to be set to the more complex model of the moon, and the output mesh needed to be set to the basic sphere. For the output map we chose Normal and then baked it as a targa file.
We also tried this out with an Ambient output map which made the craters on my moon look like they had depth, both of these were added onto the model through the Assign New Material - Blinn option which we used on the spaceship in the first lesson.


No comments:
Post a Comment